
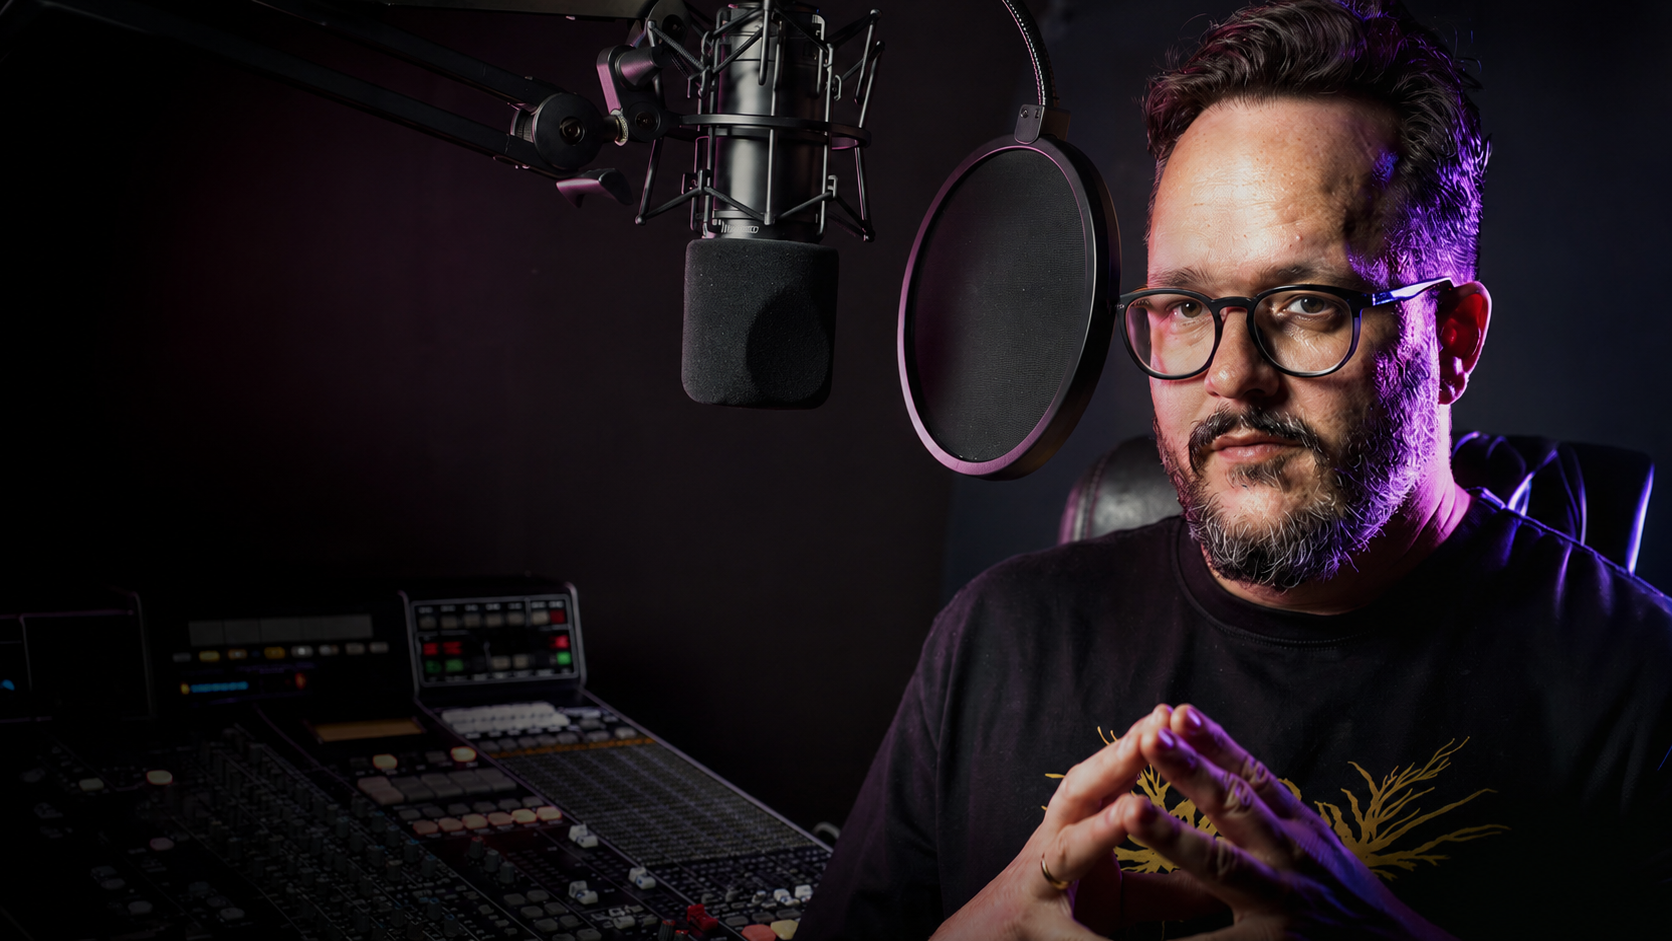
How to Record Professional Vocals at Home – studio lab
Your voice is the most powerful yet most sensitive element in any song. In episode 10 of studio lab, sound engineer Jakub Hríbik from Pulp Studio shows you how to get the most out of recording vocals at home – from choosing the right microphone and using a pop filter to building the perfect comp track from multiple takes.
Studio lab: Home recording without shortcuts
Studio lab is an educational video series on our YouTube channel, where you'll learn the art of home recording in detail. Every episode goes deep – a specific topic, a specific technique, a specific result. In episode 10, Jakub Hríbik from Pulp Studio shows you how to choose the right microphone for your voice, why your position at the mic matters, what comping is, and how to build the perfect vocal line from multiple takes.
Three microphones, one voice – who comes out on top?
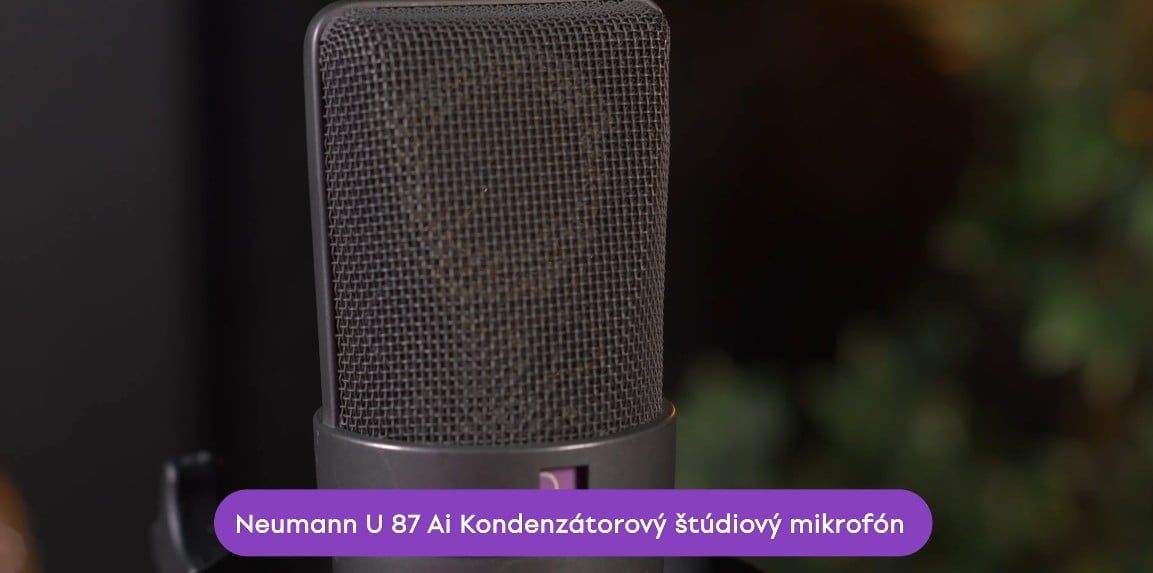
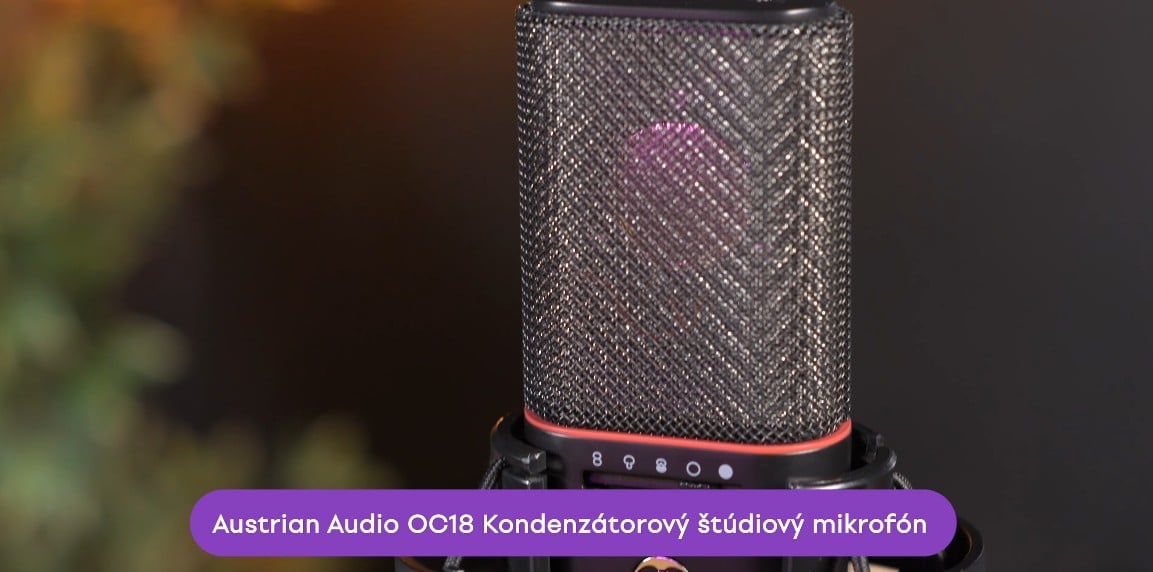
One singer, three microphones, one recording spot. Jakub opens the episode with what everyone wants to know most – a direct sound comparison of the Neumann U87 AI, Austrian Audio OC818 and Shure SM7B. Three characters, three price points, one test on a live voice.
Neumann U87 AI – a legend that still wins
The U87 captures vocals with the neutral precision and detail you expect from a condenser microphone in this price range. Jakub calls it "punchy" – not in terms of harshness, but in the sense that the voice naturally sits in its place in the mix. This neutrality is its greatest strength: the recording is clean, uncolored, and you can do anything with it in post-production.
Austrian Audio OC818 – the modern all-rounder
If you're looking for a single condenser microphone that handles absolutely everything, the OC818 is the answer. Acoustic guitars, electric guitars, vocals, brass. It features switchable polar patterns, a built-in high-pass filter adjustable from 0 to 160 Hz, and a pad up to –20 dB. When recording vocals, cutting the low bass extends the dynamic range the mic can capture. Jakub rates the OC818 almost the same as the U87 – the difference was small, and the choice came down to the specific song and the singer's voice.
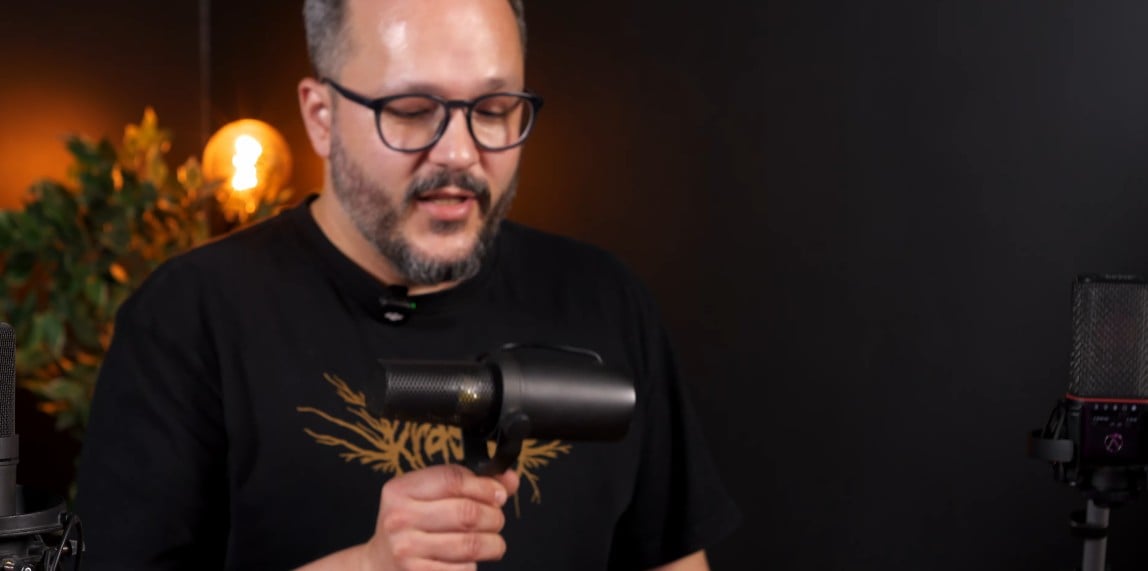
Shure SM7B – the forgiving friend for imperfect rooms
The Shure SM7B is a dynamic microphone, which in practice means one key advantage: it's not as sensitive to the acoustic environment. Reflections from bare walls won't ruin your recording as much as a condenser would. Its characteristic frequency response – a boost between 2 and 5 kHz in the upper mids – gives the voice presence and punch. Jakub calls it the "podcast sound", which isn't a criticism, just a description. Ed Sheeran recorded both vocals and guitar on the SM7B and nobody complained.
Which microphone should you choose?
The rule is simple: if your room is acoustically treated or naturally dampened, go for a condenser microphone. You'll get detailed, precise sound with all the nuances of the voice. If your room is bare and reflective, a dynamic microphone will give you a drier but more controllable recording that you can shape in the mix.
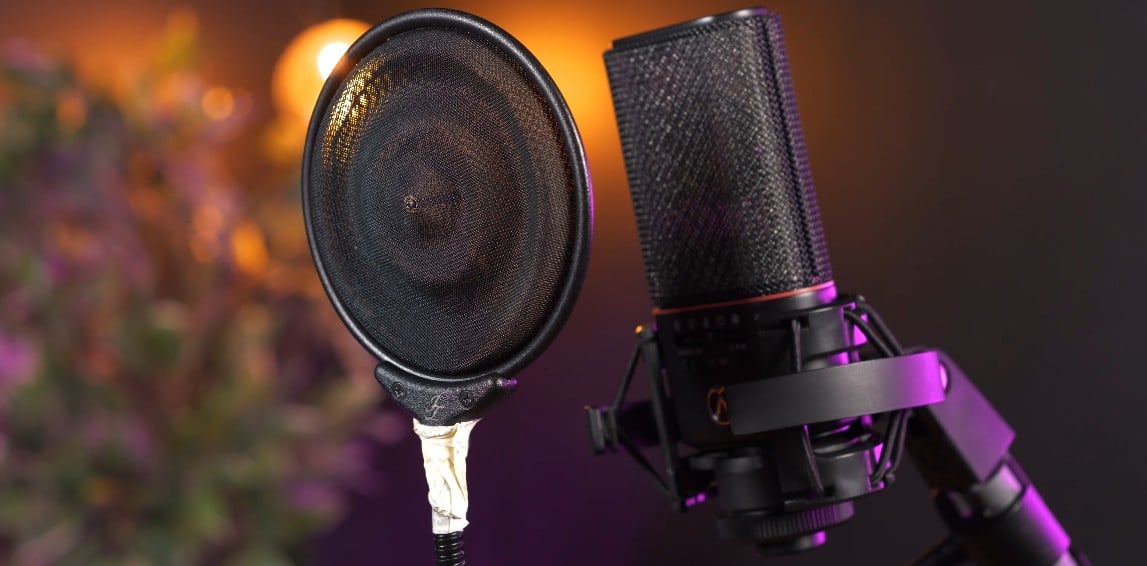
Pop filter – small thing, huge difference
Plosives. The consonants B and P create a burst of acoustic pressure aimed directly at the microphone's diaphragm when singing. Without protection, a sensitive condenser microphone captures them as unpleasant thuds. That's exactly why pop filters exist.
Jakub compares two types in the episode. A standard nylon pop filter is affordable and does the basic job – it stops the air, but slightly takes off some highs. A metal pop filter (the JZ Mics model in the episode) is acoustically more neutral, barely affects the sound, and disperses air more effectively. For most home recorders, a standard nylon pop filter is perfectly sufficient. Correct placement: about one fist from the mic, another fist between the pop filter and yourself.
Warm up your voice before you press record
Your voice is a muscle. A cold muscle won't perform the way you expect it to – and you'll hear it in the recording.
Jakub and Dominika go through a quick but effective warm-up before recording. Sliding glissandos on syllables like "ma" or "meow", moving through different registers including falsetto, warming up the lips, tongue and face. And then the technique Dominika picked up from Billie Eilish: put your tongue on your finger and try to "sing" – this warms up the nasal register and the upper parts of the face. Warming up prevents not only tuning issues but also vocal fatigue during long recording sessions.
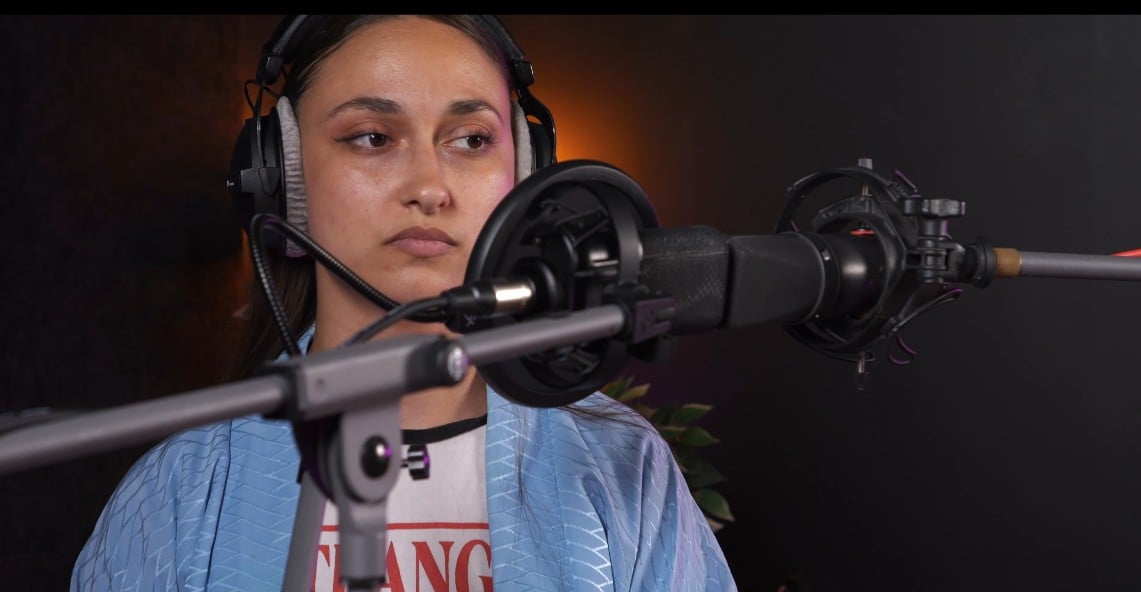
How to record – what to watch out for during takes
Recording happens across multiple takes. Jakub recommends a practical trick for vocally demanding songs: record the first and third verse first, then the second and fourth. The voice doesn't have time to tire out and every take sounds fresh. The episode also mentions using a hardware compressor during recording – when you hear the voice already compressed in your headphones, you hear it closer to how it will sound in the finished mix. You can achieve the same effect with a plugin directly in your recording software.
Comp track – one perfect vocal from multiple takes
Even professional singers don't find the perfect take on the first try. That's why comping exists.
After recording multiple takes, you sit down at your recording software and start going through the recordings section by section. From each recording you pick the parts where the performance was best – a full phrase, one sentence, or even just a single syllable. You join these parts together into the final "master take". When selecting, focus on expression and emotion, not the technical perfection of tuning. Post-production can fix intonation, but it can't fix expression and the character of a performance.
Doubles and harmonies – vocal layering that makes the difference
Once you have your main vocal comp track ready, layering begins. It's the doubles and harmonies that give the final track its width and fullness.
The center double (recording in unison) is done by having the singer step one or two steps back from the microphone. The small change in distance creates a slightly different frequency response and the double blends more naturally with the main vocal in the mix. For the left and right doubles, Jakub recommends having the singer rotate 30 to 40 degrees off-axis from the microphone – once to the right, once to the left. This simulates a slightly different frequency response. The result in the stereo image will be much more natural. Add harmonies, falsetto voices and ad-libs on top of that.
Complete your vocal recording setup
Home recording is no longer a compromise. With today's studio microphones, the right technique and patience with comping, you'll get a result you're proud of. Find all the equipment for your home studio in the microphone category and in microphone accessories. A new studio lab episode comes out regularly. Follow us on YouTube and you won't miss a thing.
Frequently asked questions about recording vocals
What microphone do I need for recording vocals at home?
It mostly depends on the room where you're recording. If your space is at least partially acoustically treated, a condenser microphone will capture the voice with full detail and natural clarity. In less well-managed rooms, it's worth reaching for a dynamic microphone, which is less sensitive to reflections. An affordable model is perfectly fine to start with.
What is the difference between a condenser and dynamic microphone for vocals?
A condenser microphone captures more detail, a wider frequency range and is more sensitive to the subtle nuances of the voice, but requires a better acoustic environment. A dynamic microphone is more robust, more forgiving of surrounding reflections and works well where the room isn't ideal. We covered the full comparison with specific examples in a separate article – condenser vs. dynamic microphone: which one do you need?.
Why does my recorded voice sound different from what I hear in my headphones while singing live?
When you sing, you also hear your voice through bone vibrations in your own head – and that's simply not present in the recording. The microphone only captures the sound traveling through the air. The result therefore sounds "different", thinner or less bassy. That's normal. The right EQ adjustment and compression in your recording software will bring the recording closer to the sound you're imagining.
What is a pop filter for and is it really necessary?
A pop filter captures the burst of air from plosives – the consonants B and P – before it hits the microphone's diaphragm. Without it, these bursts transfer into the recording as unpleasant thuds. A pop filter is one of the cheapest investments in a home studio and its effect is immediately audible. Absolutely yes, it's necessary.
What is a comp track and do I need to do it?
A comp track (or "comping") is the process of selecting the best parts from multiple recorded takes and joining them into one final vocal. Every professional singer comps – nobody sings an entire song perfectly in one take. The technique gives you the freedom to record without pressure and the result is significantly better than relying on one "perfect" take.
Do I need a soundproof room for recording vocals?
No, soundproofing and a good acoustic environment are two different things. For home recording, a room with as few hard, reflective surfaces as possible is sufficient – a carpet, curtains, shelves full of books or improvised absorbers from blankets will significantly improve the result. With a condenser microphone, room acoustics are crucial; with a dynamic microphone, you can get away with somewhat less ideal conditions.
How do I record harmonies and doubles to the main vocal?
Once you have your main vocal comp track ready, you record a double in the same key and rhythm. For the center double, step one step back from the microphone. For the left and right doubles, rotate 30 to 40 degrees off-axis from the microphone – once to the right, once to the left. This off-axis technique simulates a slightly different frequency response and the doubles blend more naturally with the main vocal in the mix.
What software should I use for recording and editing vocals?
To record and process vocals you need a DAW (Digital Audio Workstation). Popular options include Ableton Live, Logic Pro, Cubase, Reaper or GarageBand (free for Mac). All of them allow multi-take recording, comping and basic audio processing. The choice of recording software depends on what suits you best – most offer a free trial version.