 Albania
 Argentina
 Australia
 Austria
 Belgium
 Bosnia and Herzegovina
 Brazil
 Bulgaria
 Canada
 Chile
Chile
 Colombia
 Croatia
 Czech Republic
 Denmark
 Estonia
 Finland
 France
 Germany
 Greece
 Hungary
 Ireland
 Italy
Italy
 Latvia
 Lithuania
 Luxembourg
 Mexico
 Moldova
 Montenegro
 Netherlands
 New Zealand
 North Macedonia
 Norway
 Philippines
 Poland
 Portugal
 Romania
 Serbia
 Slovakia
 Slovenia
 South Africa
 Spain
Spain
 Sweden
 Switzerland
 Turkey
 Ukraine
 United Kingdom
 United States of America



How to record drums at home: the full guide | studio lab
You do not own as many microphones as your interface has inputs. You tracked drums at rehearsal on a couple of mics and on Monday morning the project sounds like pure sadness. Across three studio lab episodes, Jakub Hríbik of Pulp Studio takes it from the top: recording with one microphone, finishing the sound in your DAW, converting drums to MIDI and finally editing a multitrack to the grid.
Three studio lab episodes about drums in one place
Recording drums at home is the hardest discipline in home recording. It takes the most microphones, the most space and the most patience. That is why studio lab gave it three episodes and we are putting them together here. The first one teaches you to record the whole kit with one microphone. The second shows how to get the most out of a take like that and how to convert the whole thing to MIDI. The third covers editing drums recorded on several microphones. The text follows the videos exactly.
How do you record drums at home?
Set up one dynamic microphone at crash height so it points at the centre of the kick drum, tune the kit so it sounds good in the room itself, and only then hit record. Try moving the kit closer to a corner or away from it, because its position in the room changes the decay of the kick more than any microphone will. Once the take is recorded, duplicate it in your DAW and use the second track for the low end only. That is how you get a sound close to a multi-mic recording out of a single microphone.
The full list of what you need is in our guide on how to set up a home studio. For drums you need an audio interface, one dynamic microphone, studio headphones and a tuned acoustic drum kit.
One microphone that handles the whole kit
Times are uncertain, everything costs more and the average household does not even own as many microphones as an interface has inputs. That is exactly where the first episode starts.
Jakub used the Shure SM7B and picked it deliberately, because once you buy one microphone like this you can track vocals, guitars, a bass combo, acoustic guitar and drums with it. There are three reasons. It is cardioid, so it picks up sound from the front, which is crucial on drums because you are recording in a room that is not acoustically treated and every close reflection is unwanted. The fact that the mic only sees into the kit is an advantage. It is dynamic, so it handles high SPL and you can play really hard, from swing to a death metal demo. And third, check that the high-pass filter on the back is switched off. It cuts the bass and that is the last thing you want on drums. The differences between types are covered in condenser vs dynamic microphone and we compare the Shure models in SM58 vs SM57 vs SM7B. If you want to add overheads later you will need condenser microphones and the whole category is in microphones for drums and percussion.
Where to put that microphone
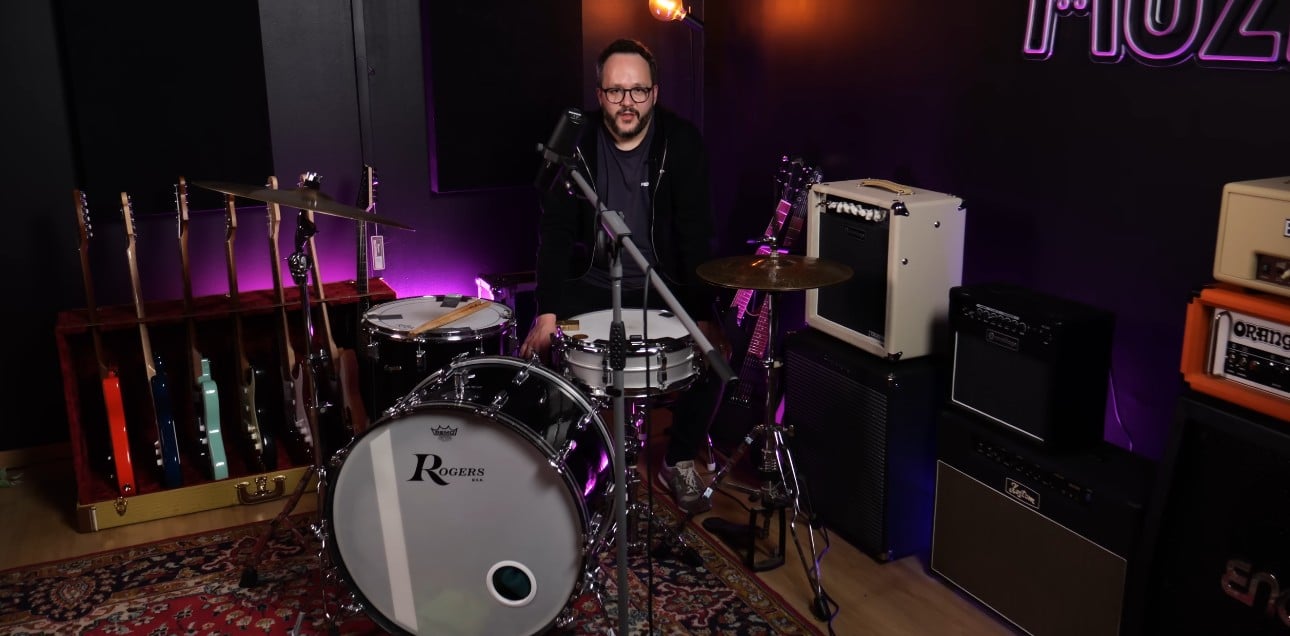
The position is simple. The microphone sits roughly at crash height and looks at the centre of the kick. That is it. With one microphone you do not need anything more sophisticated.
The room matters more. The closer the kit or the kick sits to a corner, the more bass loading you get, meaning the low end piles up in that corner. You can use it in favour of the drums. If it feels overcooked, move the kit somewhere else in the room. On slow songs a long kick decay in the low end is great. When you play faster material, punk rock and the like, you need to find the spot where the kick is short and the whole room does not boom, so the articulation is not lost. You solve this by moving the kit, not with plugins.
It all starts at the kit
It definitely starts with the drummer. Tuning the kit is the foundation and the instrument has to sound great in the room. Jakub says it plainly: if he does not like how it sounds while he plays, he does not even start recording. He is not thinking about which microphone or how it sounds in the computer. He is thinking about whether the room sounds listenable.
The small things on the kit belong here too. In this episode the snare had dampers on it deliberately, because the take was in a softer style and the snare was not supposed to ring. Leather snare dampers shorten the decay and tame the overtones when the snare is tuned higher. If the snare still comes across as too harsh in a bare room with plenty of close reflective surfaces, throw a shirt or a tea towel over it. It is a DIY trick that helps when the top end gets unpleasant. Reconsider your drum heads, cymbals and a drum tuner as well, because that is where you get the most for the least money. More damping gear is in drum accessories.
How to make one microphone sound bigger
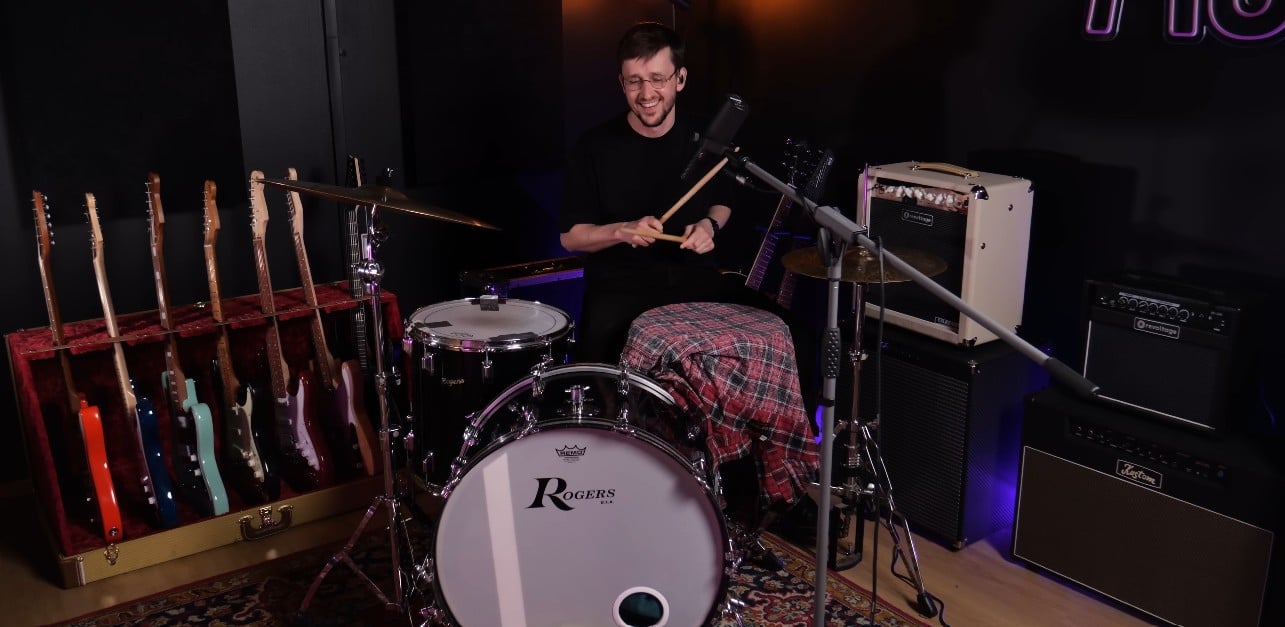
The first trick is duplicating the track. Copy the take onto two tracks and process each one differently.
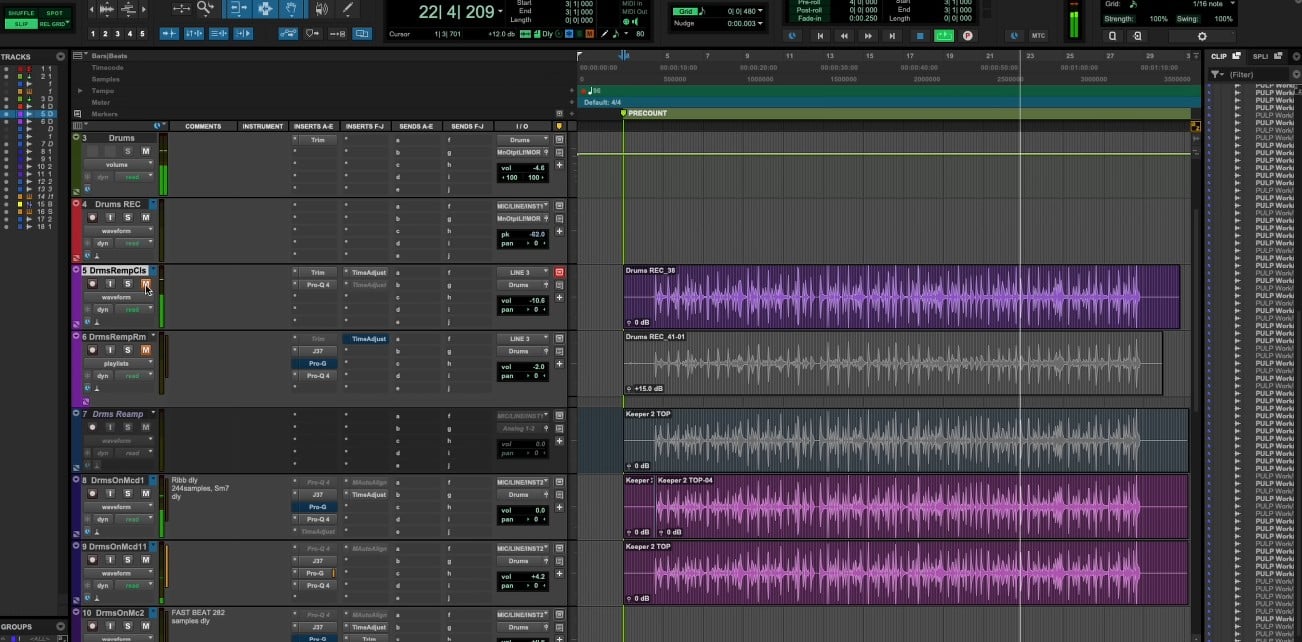
Put a gate on the lower copy with a side chain that only reacts to frequencies from 80 Hz down. It then opens only when the kick hits. After that use a low pass to keep just the band where the kick resonates in the low end. In this particular case it resonated around 46 Hz and Jakub left it at 55 Hz. That gives you a separate sub track out of a single recording, the kind you would otherwise only get from a mic inside the kick.
There is a catch though. When you EQ two identical sources differently you get a phase shift and together it does not sound good straight away. So shift the upper track to the right with a delay by a number of samples until the low end starts adding up. For Jakub it worked out at around 282 samples. Without that shift the sound feels hollower, with it the result sounds like one track and not like two differently processed files played together. You will find a gate, EQ and delay in every DAW, and separately in dynamics and EQ plugins.
Tape and reamping through a guitar combo
You can add a tape simulator to the upper track. In this episode it emulates the Studer J37 valve tape machine and Jakub is fair about it: it is not essential and he happily mutes it. It does no harm though, thanks to the saturation and the way it softens the high frequencies. Behind it sits an EQ that only trims the highs a little and pulls down the upper mids around 4,600 to 5,000 Hz. Look for gear like that in saturation plugins.
The second trick is reamping and it gives a single-mic recording character and depth. The procedure is exact. Solo the original untreated take, switch to headphones and turn off both studio monitors. Take the cable that ran from the line output of your interface to the left monitor, unplug it and put it into a reamp box, in this case the Palmer PDI 09. The box changes the impedance of the signal so it suits a guitar combo. From the reamp box you go into the combo with an instrument cable. The combo has its own character and distortion and that is exactly what you want on that recording. Then record two takes: one with the mic right on the speaker and one with the mic moved out into the hallway while the combo plays loud into the room.
When the recording is not enough: convert drums to MIDI
Your phone is full of grooves nobody develops any further, the guitar players moan that the sound is not inspiring or that the kick is a bit off. Episode seven is exactly about that.
Every conversion method works on transient detection. A transient is a short sound with a large amplitude that marks the start of a sound wave. It does not have to have the same frequency as the note that follows it. It marks the fastest, most dominant high-amplitude frequency at the beginning of the waveform. And because drums are transient heavy and have pronounced peaks, plugins can spit out MIDI notes from them that you then edit and play back in a drum sampler.
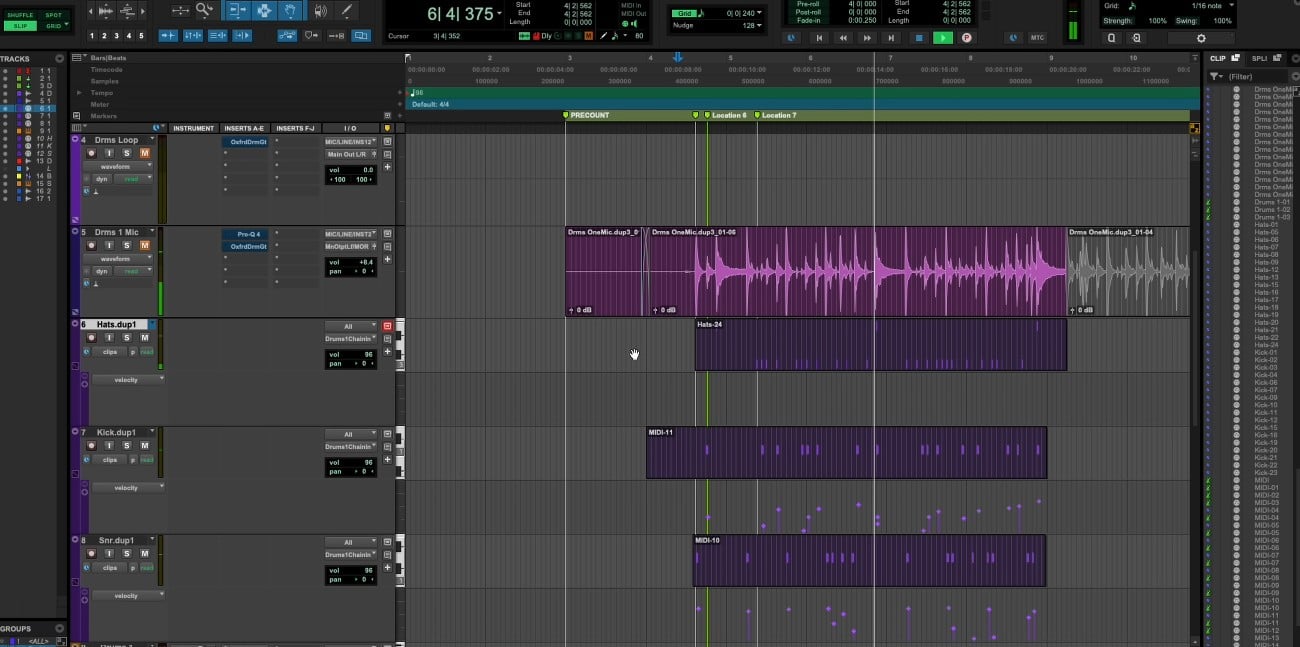
You can do it for free in every modern DAW. Drag the clip from an audio track onto a MIDI track, the plugin asks what kind of material it is and you pick percussive instead of melodic. You get MIDI notes from every detected transient and plenty of mess along with them. This method costs nothing, but you have to sort and separate it manually into kick, snare, floor tom and hi-hat tracks. It also does not capture the dynamics of the hits well, so you dial in the velocities by hand.
Two things will save you hours here. First: set the MIDI tracks to sample based, not ticks. The notes then follow the sample rate of the audio, in this case 48,000 samples per second, and their position is far more accurate than on a MIDI grid. Second: know the tempo. This recording was at 96 BPM, which is why you could see whether the notes landed on the beat. If your drum take is completely random and you do not know the tempo, at least tap it in roughly.
The faster route is a dedicated plugin, in this episode the Sonnox Oxford Drum Gate. An ordinary gate works purely on a loudness threshold, which does not fly on a compressed drum loop, because the peaks of the kick and the snare do not differ and the gate has no chance. Even with the threshold set under the snare it also catches the kicks. Oxford Drum Gate identifies which drum it is dealing with from the fundamental frequencies. In the match transients section you pick the drum, for dynamic playing with ghost notes you use the Save the Ghost Notes preset, set the threshold so you hear even the weakest hits, hit capture and pull the MIDI out with a simple drag and drop. If it missed a kick, mark that spot, hit learn unmatched and play the section back. The plugin learns it and catches it from then on. The captured dynamics are far more exact than with a manual conversion.
The hi-hat is the hardest thing to convert to MIDI
Match transients is not built to detect the hi-hat, so that part is always the most laborious. You can help yourself by putting an EQ before the gate that is trimmed down to the very top end only, then converting that filtered track with the same technique. Even then you have to sort out manually what is a snare and what is a hi-hat, and articulations like an open hi-hat cannot be extracted this way at all. So the time you save on kicks and snares you spend on the hi-hat.
There is a cleaner solution as well. Mic the hi-hat separately with one microphone. In principle it does not matter which one, as long as it is close. The bleed from the other drums will be minimal and you will build the MIDI track faster and more accurately. Once the hits are captured, quantise everything at the end, for Jakub onto a sixteenth grid, because the detection alone does not nail the timing.
Multitrack: why more microphones edit better
The third episode starts with a Sunday rehearsal. You tracked the drums on a couple of microphones, the drummer is bragging in the band chat and on Monday morning you open the project and it is pure sadness.
The basic drum microphone set is a mic on the snare and a mic in the kick. Ideally you add two mics on the toms and one pair of overheads, usually condenser pencil microphones above the kit that capture the whole kit and above all the cymbals. The advantage is obvious. You have the most direct sound of every drum with the least bleed, so transient detection works far more accurately and you can turn an average take into a solid result.
By hand: tab to transient and slip edit
First put all the drum tracks into one group so the cuts happen in all of them at once. Then you go transient by transient. In Pro Tools there is a tab to transient function that jumps to the earliest sound from the whole set of microphones. When the snare is hit, the closest mic records it first and the function catches that. At maximum zoom you can see that the transient starts where the line breaks at about 45 degrees. Cut there. If your DAW does not have that function, find the point manually. What matters is that the cut happens at the same time in every track. You go by the main beats, so kicks, snares and toms according to the close mics.
Turn on an eighth-note grid so you can see how far off it the hits sit. Switch to grid mode and move the whole column of audio onto the grid. Some hits are early, some late, so to avoid covering the next block use slip edit. In Pro Tools it is Control and minus, and other DAWs can do it too. Jakub moves drums in 3 to 5 ms increments. Moving audio leaves gaps, so fill them with the fill the gaps function, which pulls the missing piece over from the audio on the right. And put a 3 to 5 ms crossfade on every cut so it does not click and the artefacts stay as short as possible.
Automatically: Beat Detective in a fifth of the time
The same thing can be done considerably faster. Never select the whole take though, unless the playing is very simple. Take a block you can still hold in your head and separate it out.
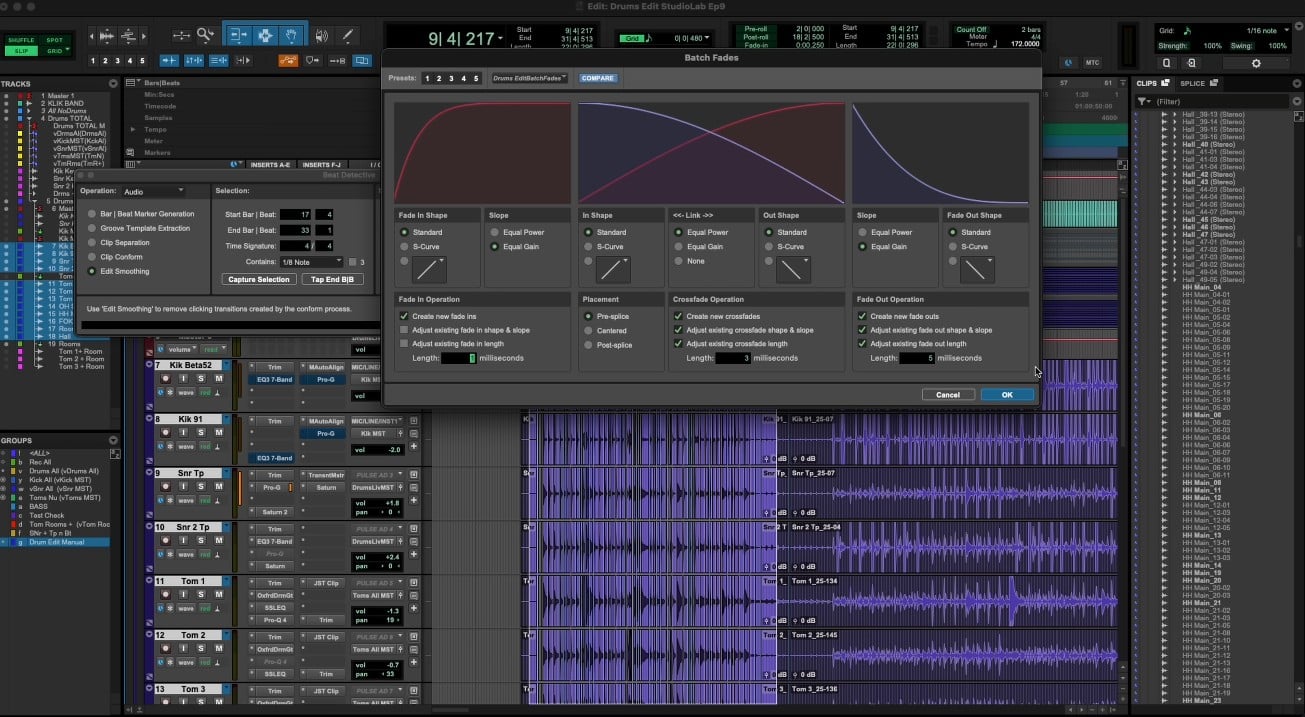
The procedure has four steps. First create a subgroup of the close microphones, meaning kick, snare and toms. If you have both a kick in and a kick out, put the one that captured the hit earlier into the group, so the kick in. On Jakub kick mics it was seven samples, which is nothing, but between a kick in and a kick out it can be a full millisecond. The same rule applies to snare top and bottom. Then in clip separation mode set the sensitivity, somewhere between 35 and 40 % has proven itself, an eighth-note grid and a 5 ms trigger pad. That creates a slice of audio before the transient so the crossfade does not land exactly on the transient and blur your attack. Hit capture selection, check what it marked and add or remove markers by hand if needed. Finally switch on the group with all the drum tracks, hit separate, then clip conform to the eighth-note grid, and to finish, edit smoothing with fill the gaps and crossfades.
The result sounds the same as the manual version. The difference is that what took Jakub fifteen minutes by hand, the automatic route handled in a minute. The condition is a decent starting point. The better it is recorded and the less bleed there is in the close mics, the more accurately the program detects the transients.
When not to align drums
Whether to align drums or not is not our question to answer. Most of today listeners grew up on music aligned to the grid, and even good modern rock records get aligned so they hit as hard as electronic music. That does not mean everything has to be aligned.
The practical rule from the video is this. If the other hits sound fine and only deviate slightly from the grid, that is exactly the liveliness you want to keep. A drummer naturally speeds up in a fill and if it is played well, leave it. Just make sure the kick that comes right after the fill really lands on the first beat on the grid. The ear is waiting for it and it always works as an anchor. If you want to keep the most natural feel, align smaller blocks.
No full mic set? Overheads plus triggers
Two microphones will do as well. Use two mics as overheads so you capture the image of the drums and cymbals, and clip triggers onto the individual drums, the little clamps that give you nothing but a basic impulse. The transients from the triggers have no sound at all, they are just an impulse, but that is exactly what you need for editing. You edit a great take from them and then resample those impulses in a drum sampler into real drum sounds. You tune the close sounds in the sampler to match the overheads so everything sits together.
Frequently asked questions about recording drums at home
Can you record drums with one microphone?
Yes. Set up one dynamic microphone at crash height so it points at the centre of the kick and tune the kit. In studio lab they used the Shure SM7B for it, because it is cardioid, handles high SPL and you can use the same mic for vocals and guitars afterwards.
What is the best microphone for drums?
For a single microphone look for a dynamic, cardioid model that handles high pressure. For the kick, dedicated models like the Shure Beta 52A are used, and condenser microphones for overheads. The whole category is in microphones for drums and percussion, and which type suits what is covered in condenser vs dynamic microphone.
Why do my drums sound hollow and thin at home?
Most often it is the room and the position of the kit, not the microphone. Try moving the kit closer to a corner so bass loading kicks in, or away from it if the kick booms. If you have already recorded, duplicate the track, put a gate with a side chain under 80 Hz and a low pass around 50 Hz on the copy, and shift the upper track in time so the low end adds up.
How do you convert a drum recording to MIDI?
It works on transient detection. The stock plugin in your DAW handles it for free when you drag the audio clip onto a MIDI track and pick percussive. A dedicated plugin like the Sonnox Oxford Drum Gate does it more accurately and faster, telling the drums apart by their fundamental frequencies and capturing ghost notes too.
How many microphones do I need for drums?
The basics are a mic on the snare and a mic in the kick. The ideal setup adds two mics on the toms and a pair of overheads. If you only have two microphones, use them as overheads and put triggers on the individual drums.
Should drums be aligned to the grid?
It depends on the genre and on your taste. Modern rock records get aligned so they hit as hard as electronic music. Leave the small deviations of the other hits though, that is the liveliness. What matters is that the kick after a fill lands on the first beat.
Pick your drum recording gear
You can record drums at home with a single microphone and a tuned kit. Everything else comes down to patience while editing. Browse microphones for drums and percussion, dynamic and condenser microphones, audio interfaces, studio headphones and studio monitors. On the kit itself, new heads, cymbals, a drum tuner and drum accessories will help. If you are choosing your first DAW, read FL Studio vs Ableton, and you will find more studio lab episodes in how to record clean vocals at home, how to record down-tuned guitars and how to master guitar effects in your DAW.