Albania
 Argentina
 Australia
 Austria
 Belgium
 Bosnia and Herzegovina
 Brazil
 Bulgaria
 Canada
 Chile
 Colombia
 Croatia
 Czech Republic
 Denmark
 Estonia
 Finland
 France
 Germany
 Greece
 Hungary
 Ireland
 Italy
 Latvia
 Lithuania
 Luxembourg
 Mexico
 Moldova
 Montenegro
 Netherlands
 New Zealand
 North Macedonia
 Norway
 Philippines
 Poland
 Portugal
 Romania
 Serbia
 Slovakia
 Slovenia
 South Africa
 Spain
 Sweden
 Switzerland
 Turkey
 Ukraine
 United Kingdom
 United States of America


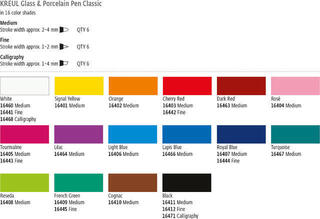
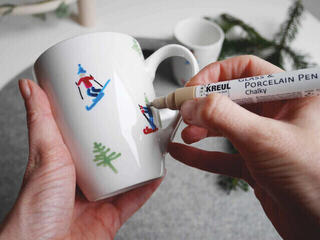
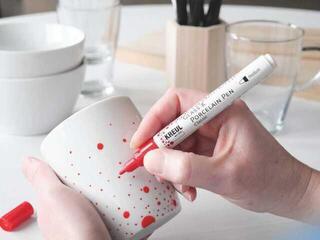
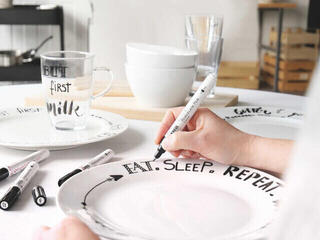
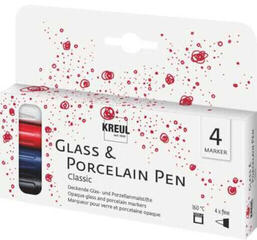
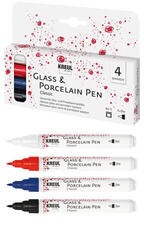
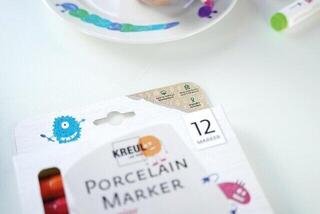
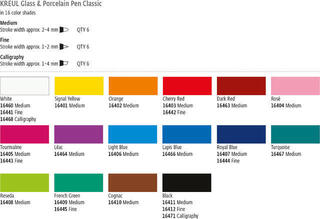
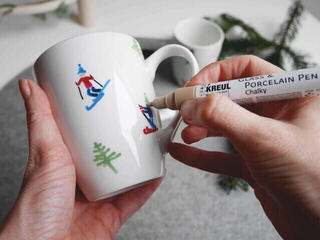
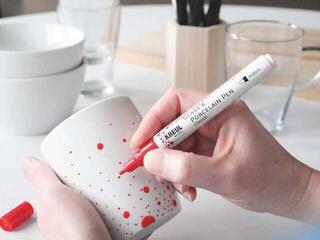
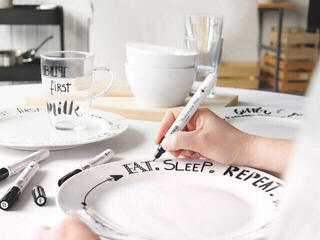
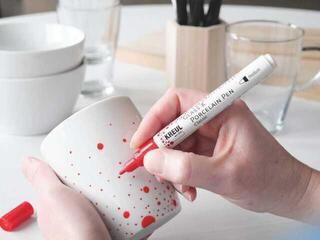
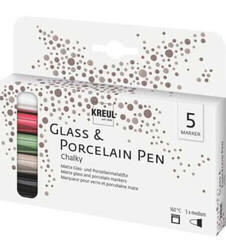
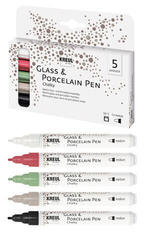
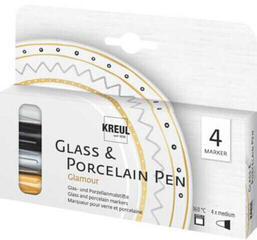
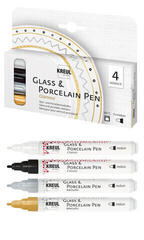
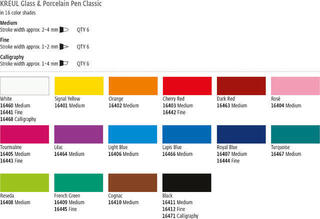
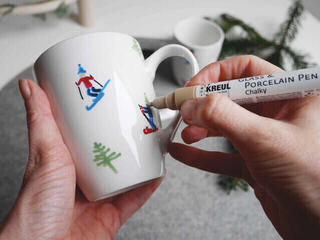
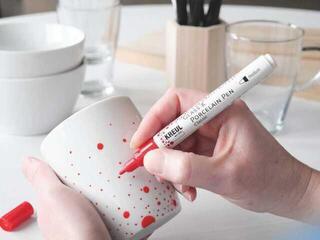
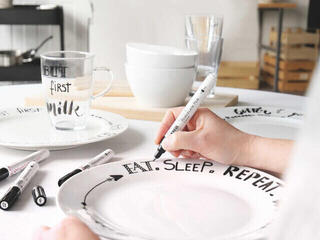
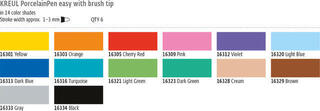
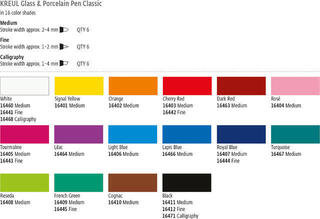
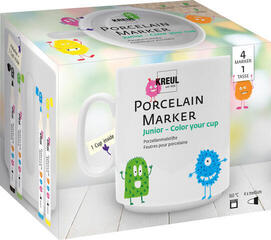
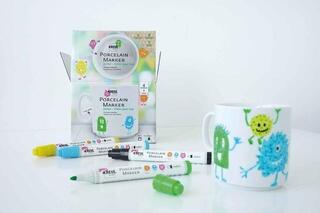
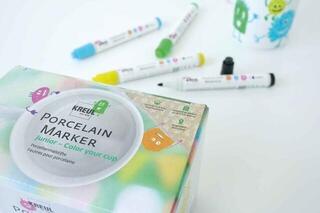
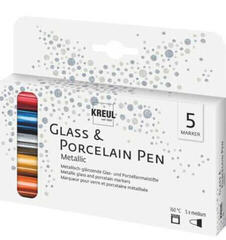
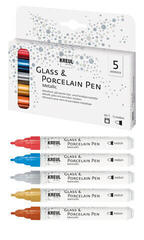
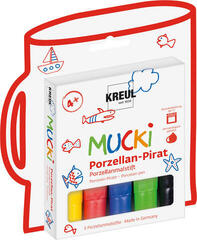
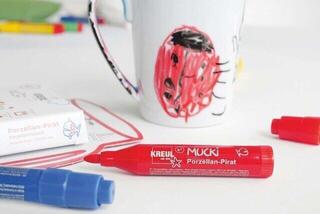
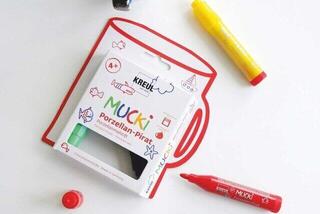
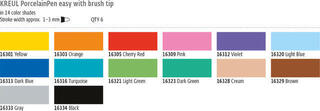
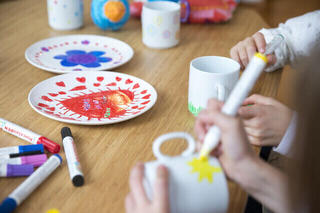
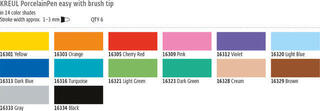
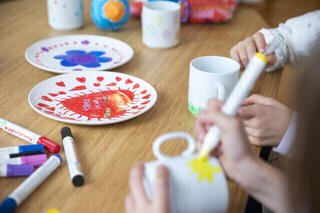
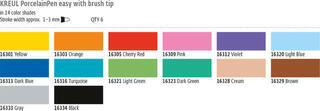
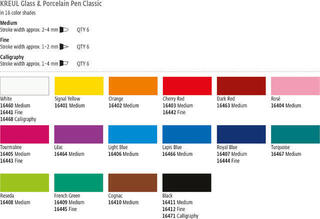
Markers for Porcelain
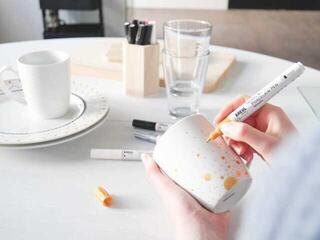
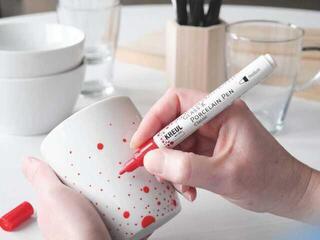
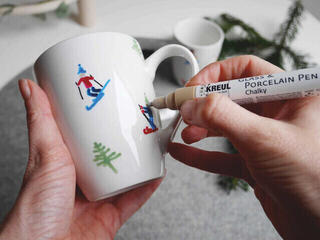
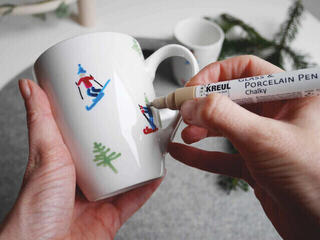
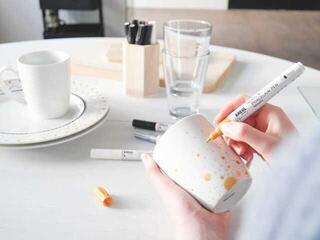
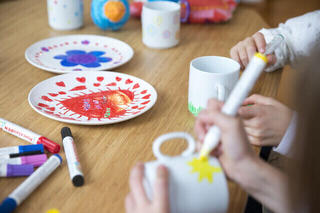
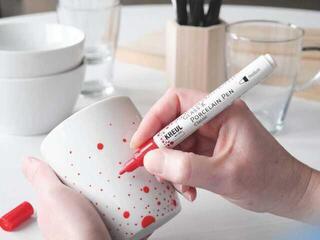
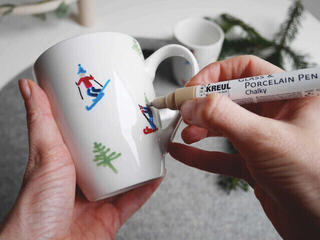
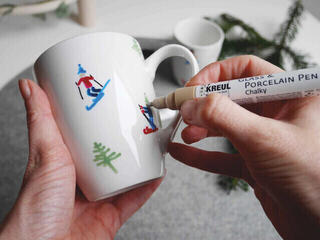
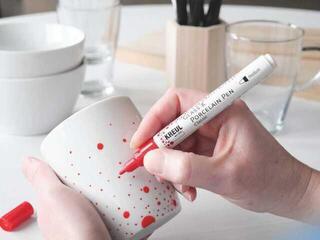
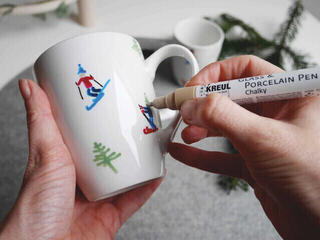
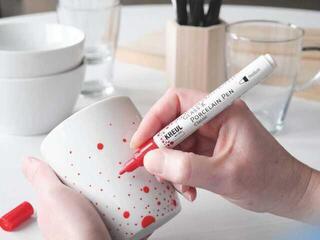
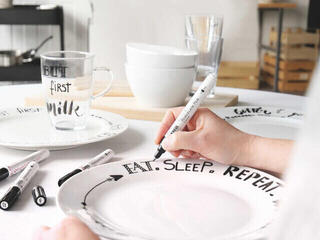
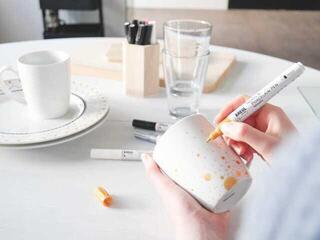
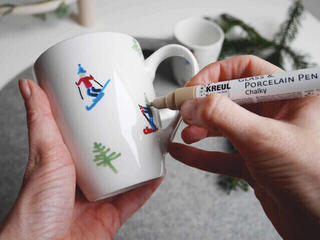
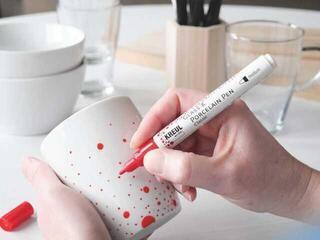
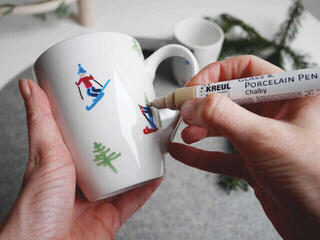
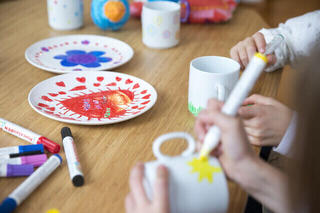
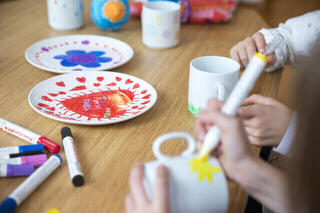
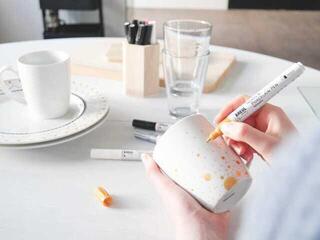
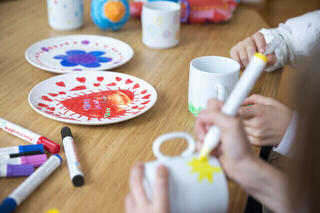
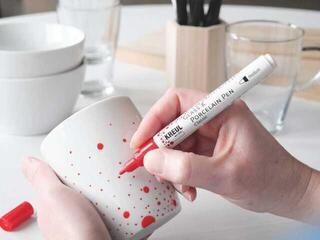
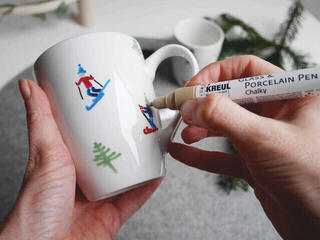
Porcelain markers leave color on a smooth, non-porous surface where a regular marker may not adhere. The result is affected by degreasing, layer thickness, and the fixing method specified by the manufacturer. A decorative plate, mug, and tile may have different glazes. Therefore, test the marker in an inconspicuous area before decorating.
Tip according to the design
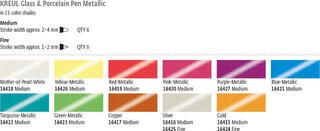
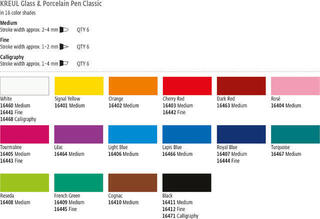
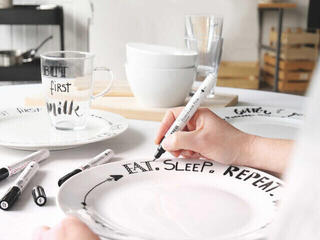
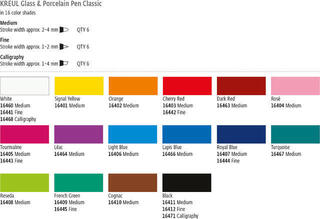
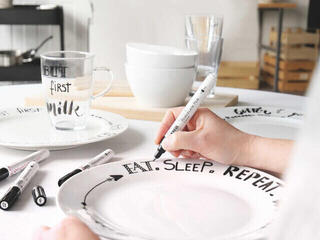
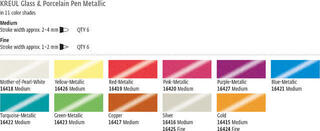
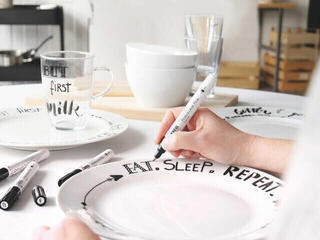
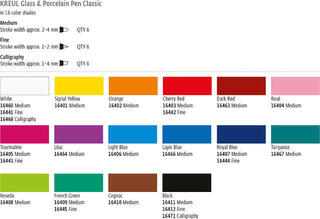
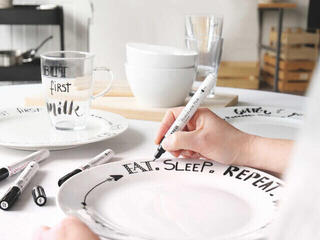
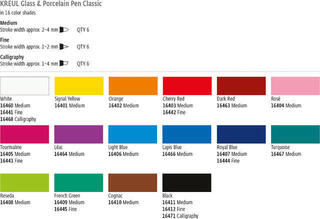
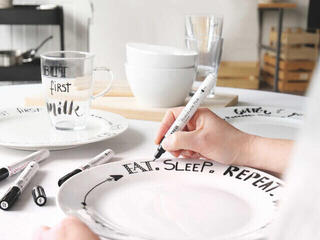
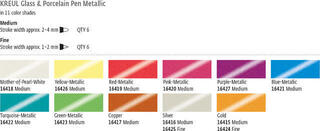
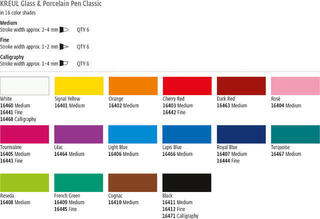
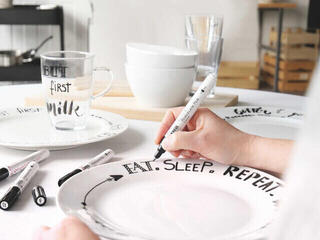
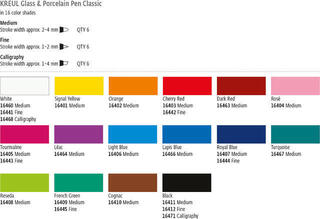
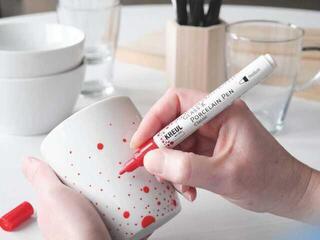
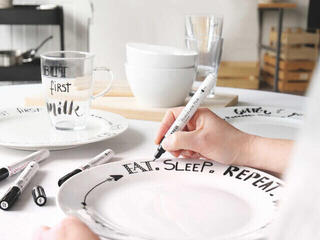
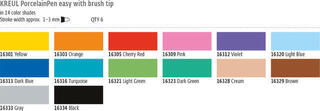
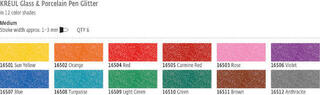
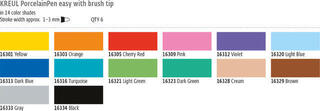
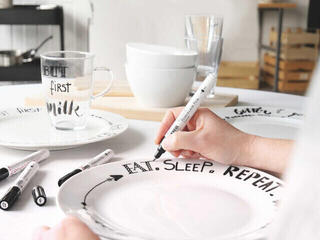
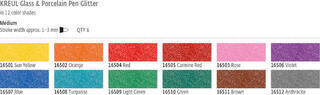
A fine tip draws outlines and small lettering, a medium tip makes general ornaments easier, and a broader tip covers areas. Opaque color is suitable for a bold design, while transparent color lets the glaze show through. When filling an area, do not leave the tip in one place for too long, as this can create a puddle with an uneven edge.
- Fine tip: outlines, signatures, and small details.
- Medium tip: lettering and versatile ornaments.
- Broad tip: areas of color with fewer strokes.
A clean surface without fingerprints
Wash the porcelain, degrease it with a suitable product, and let it dry completely. Do not touch the design area after degreasing. Prepare the sketch away from the item or use a marking tool that can be removed safely. Correct mistakes only within the time allowed for the specific marker.
Fixing and washing
Some markers require heat fixing, while others cure after a specified time. Follow the exact temperature, duration, placement, and cooling method stated by the manufacturer. Keep decorated areas away from direct contact with food and the mouth unless the product explicitly confirms such safety. Base washing on the declared durability, not on a general assumption.
Related surfaces are not interchangeable
Glass Markers are intended for glass, while Glass Paints offer a broader selection of colors. For unglazed ceramics, the Ceramic Paints category may be more suitable. The parent Glass and Porcelain Painting category helps you compare techniques.